Rough Sketches
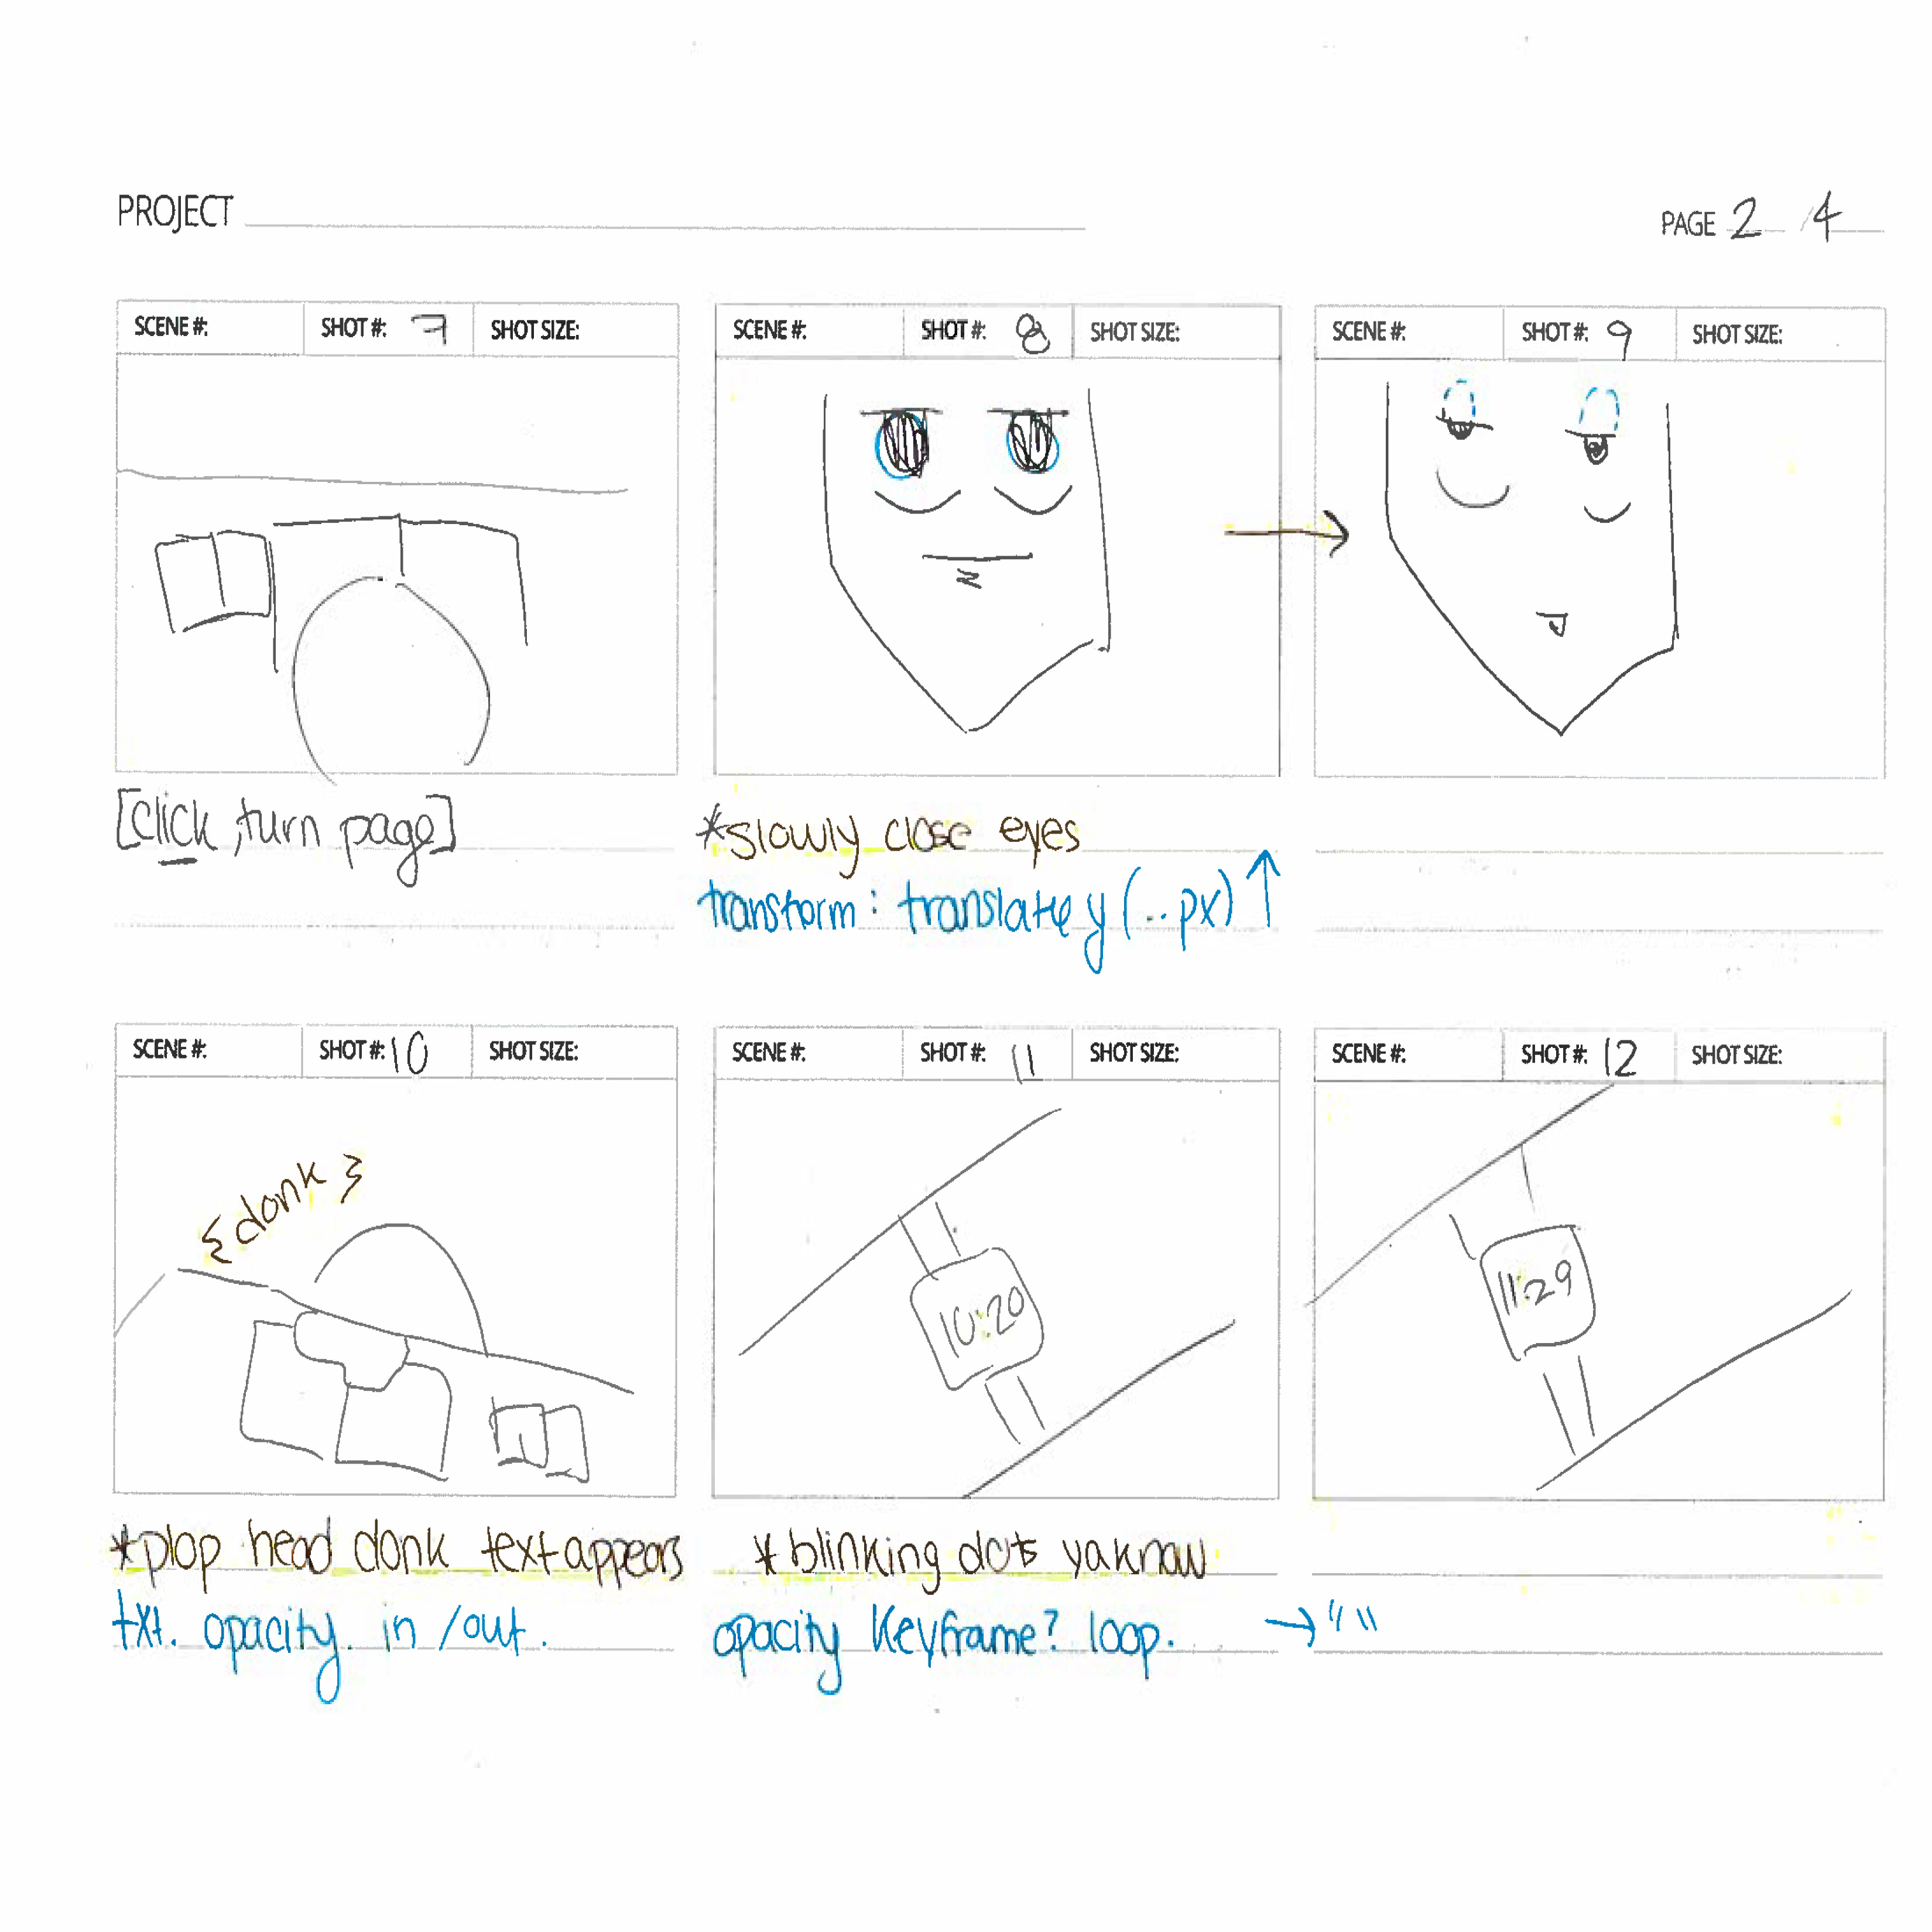
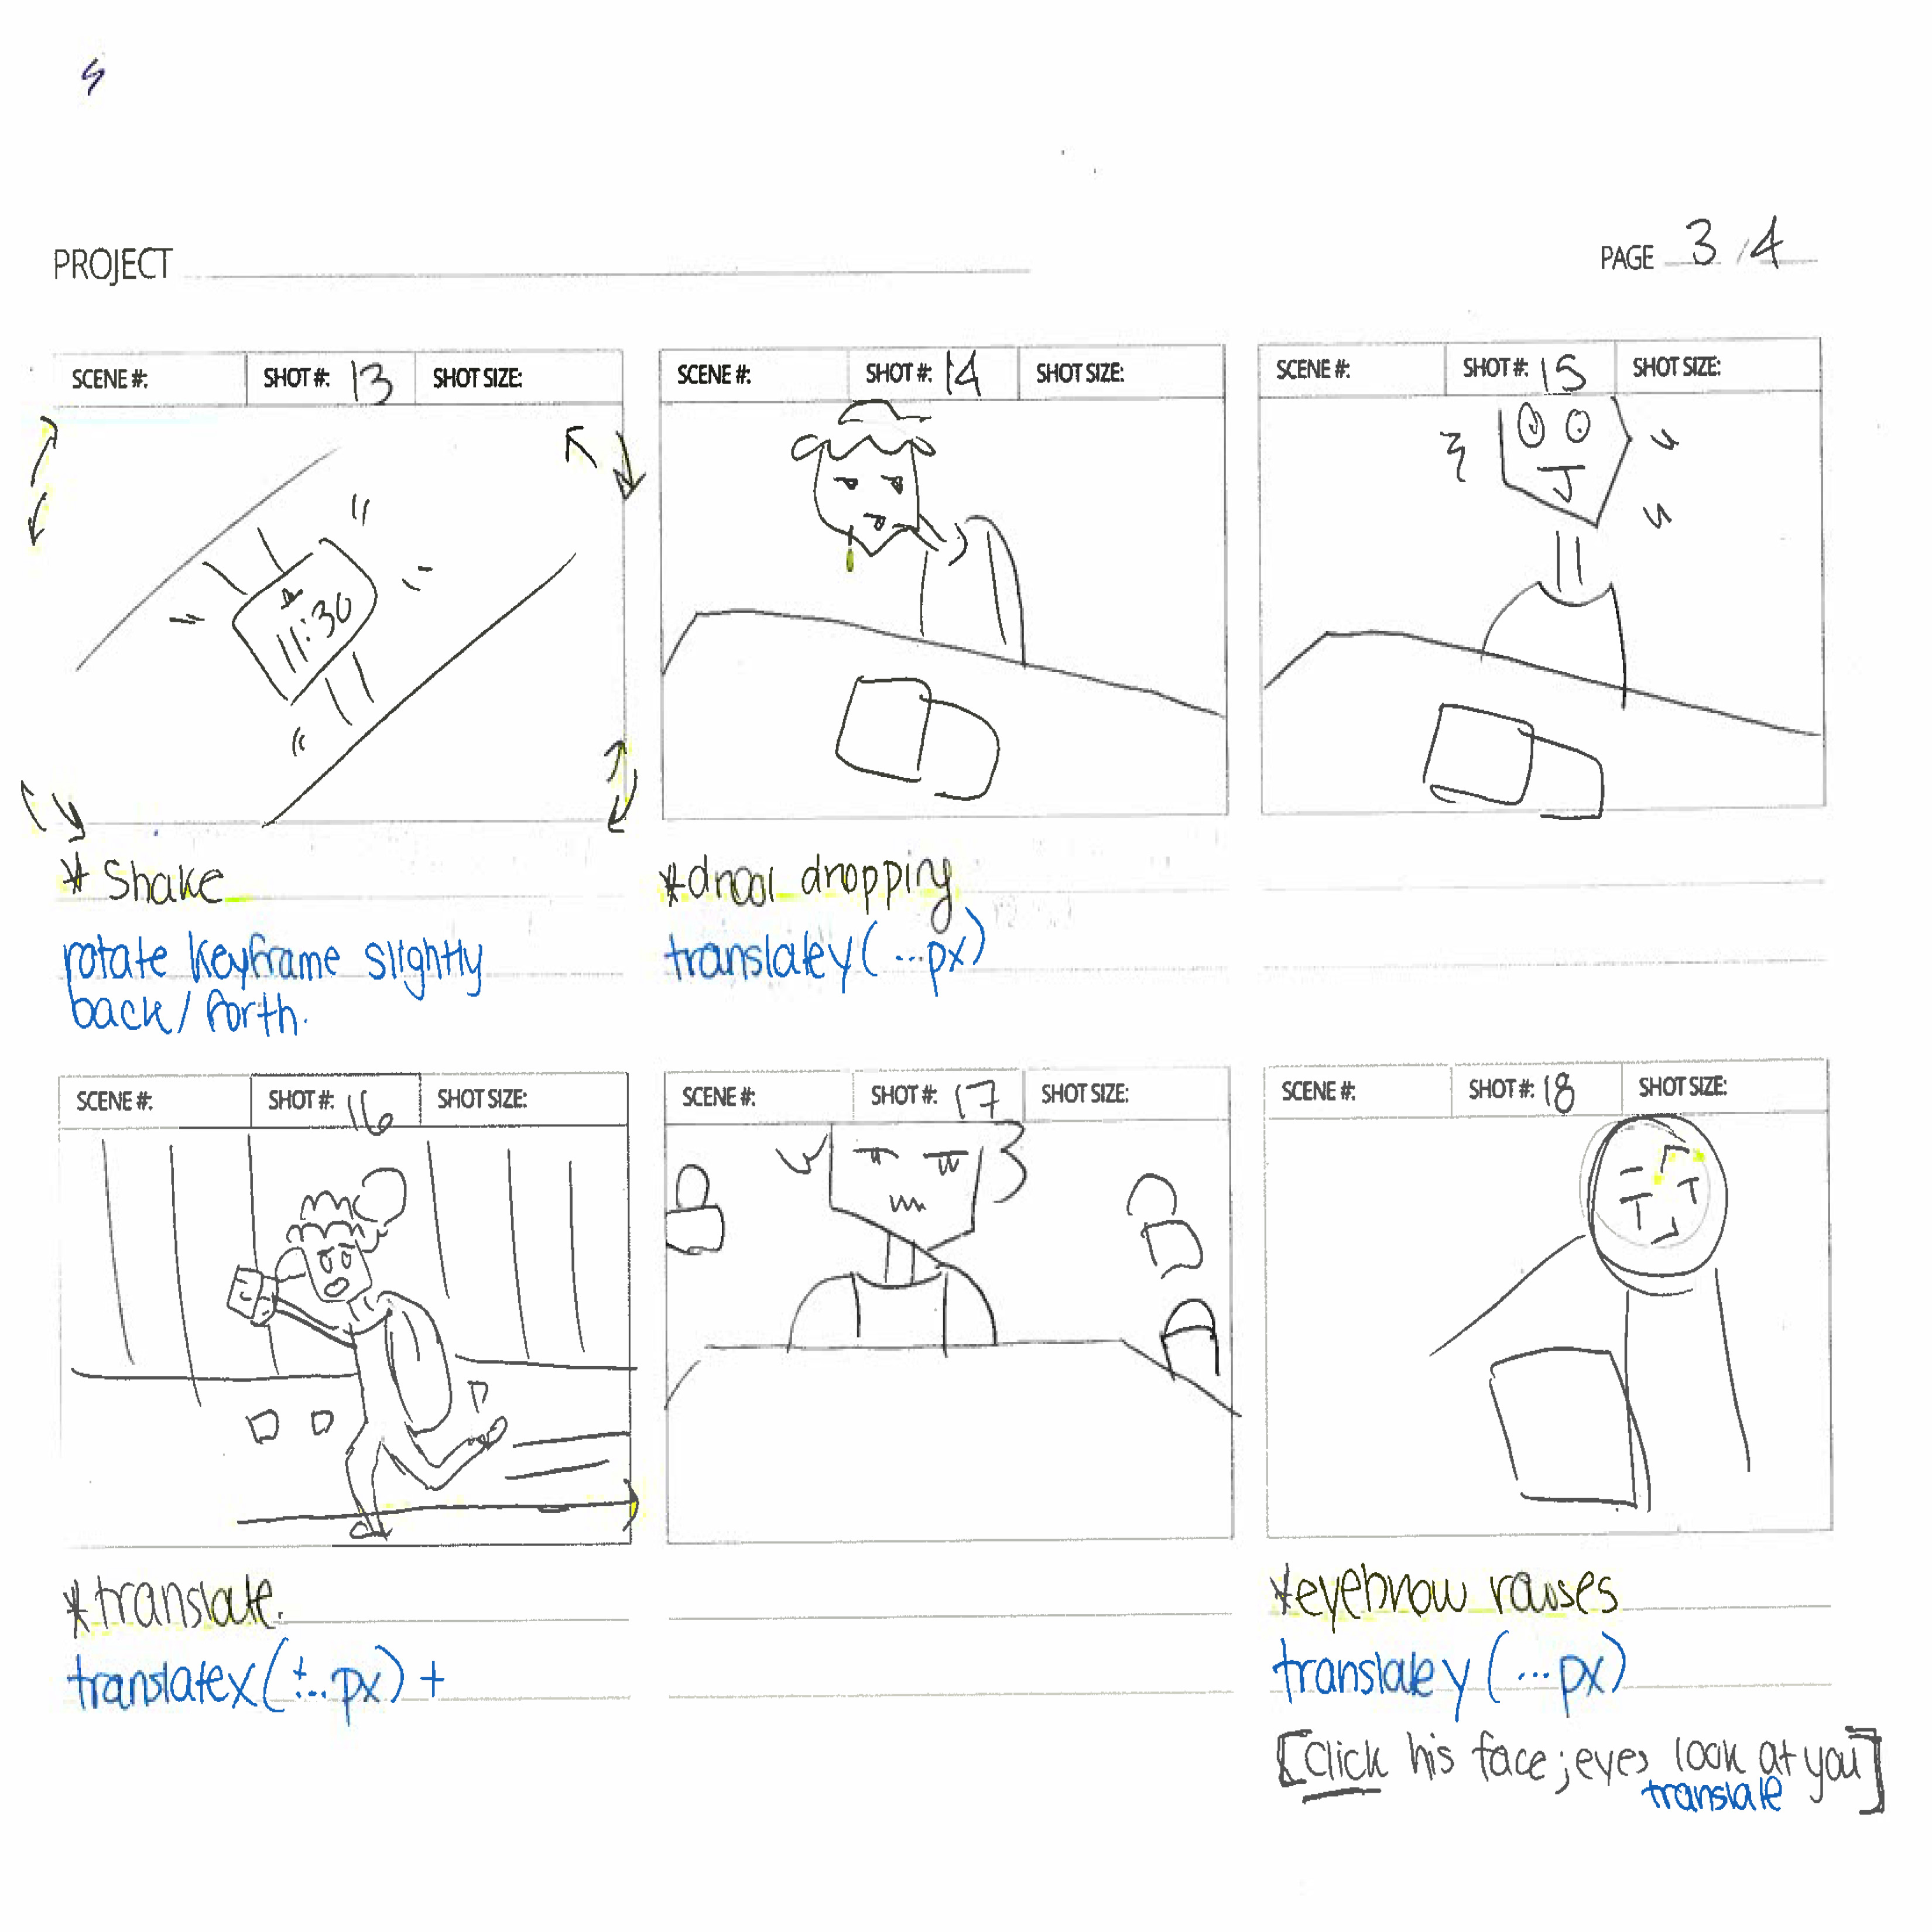
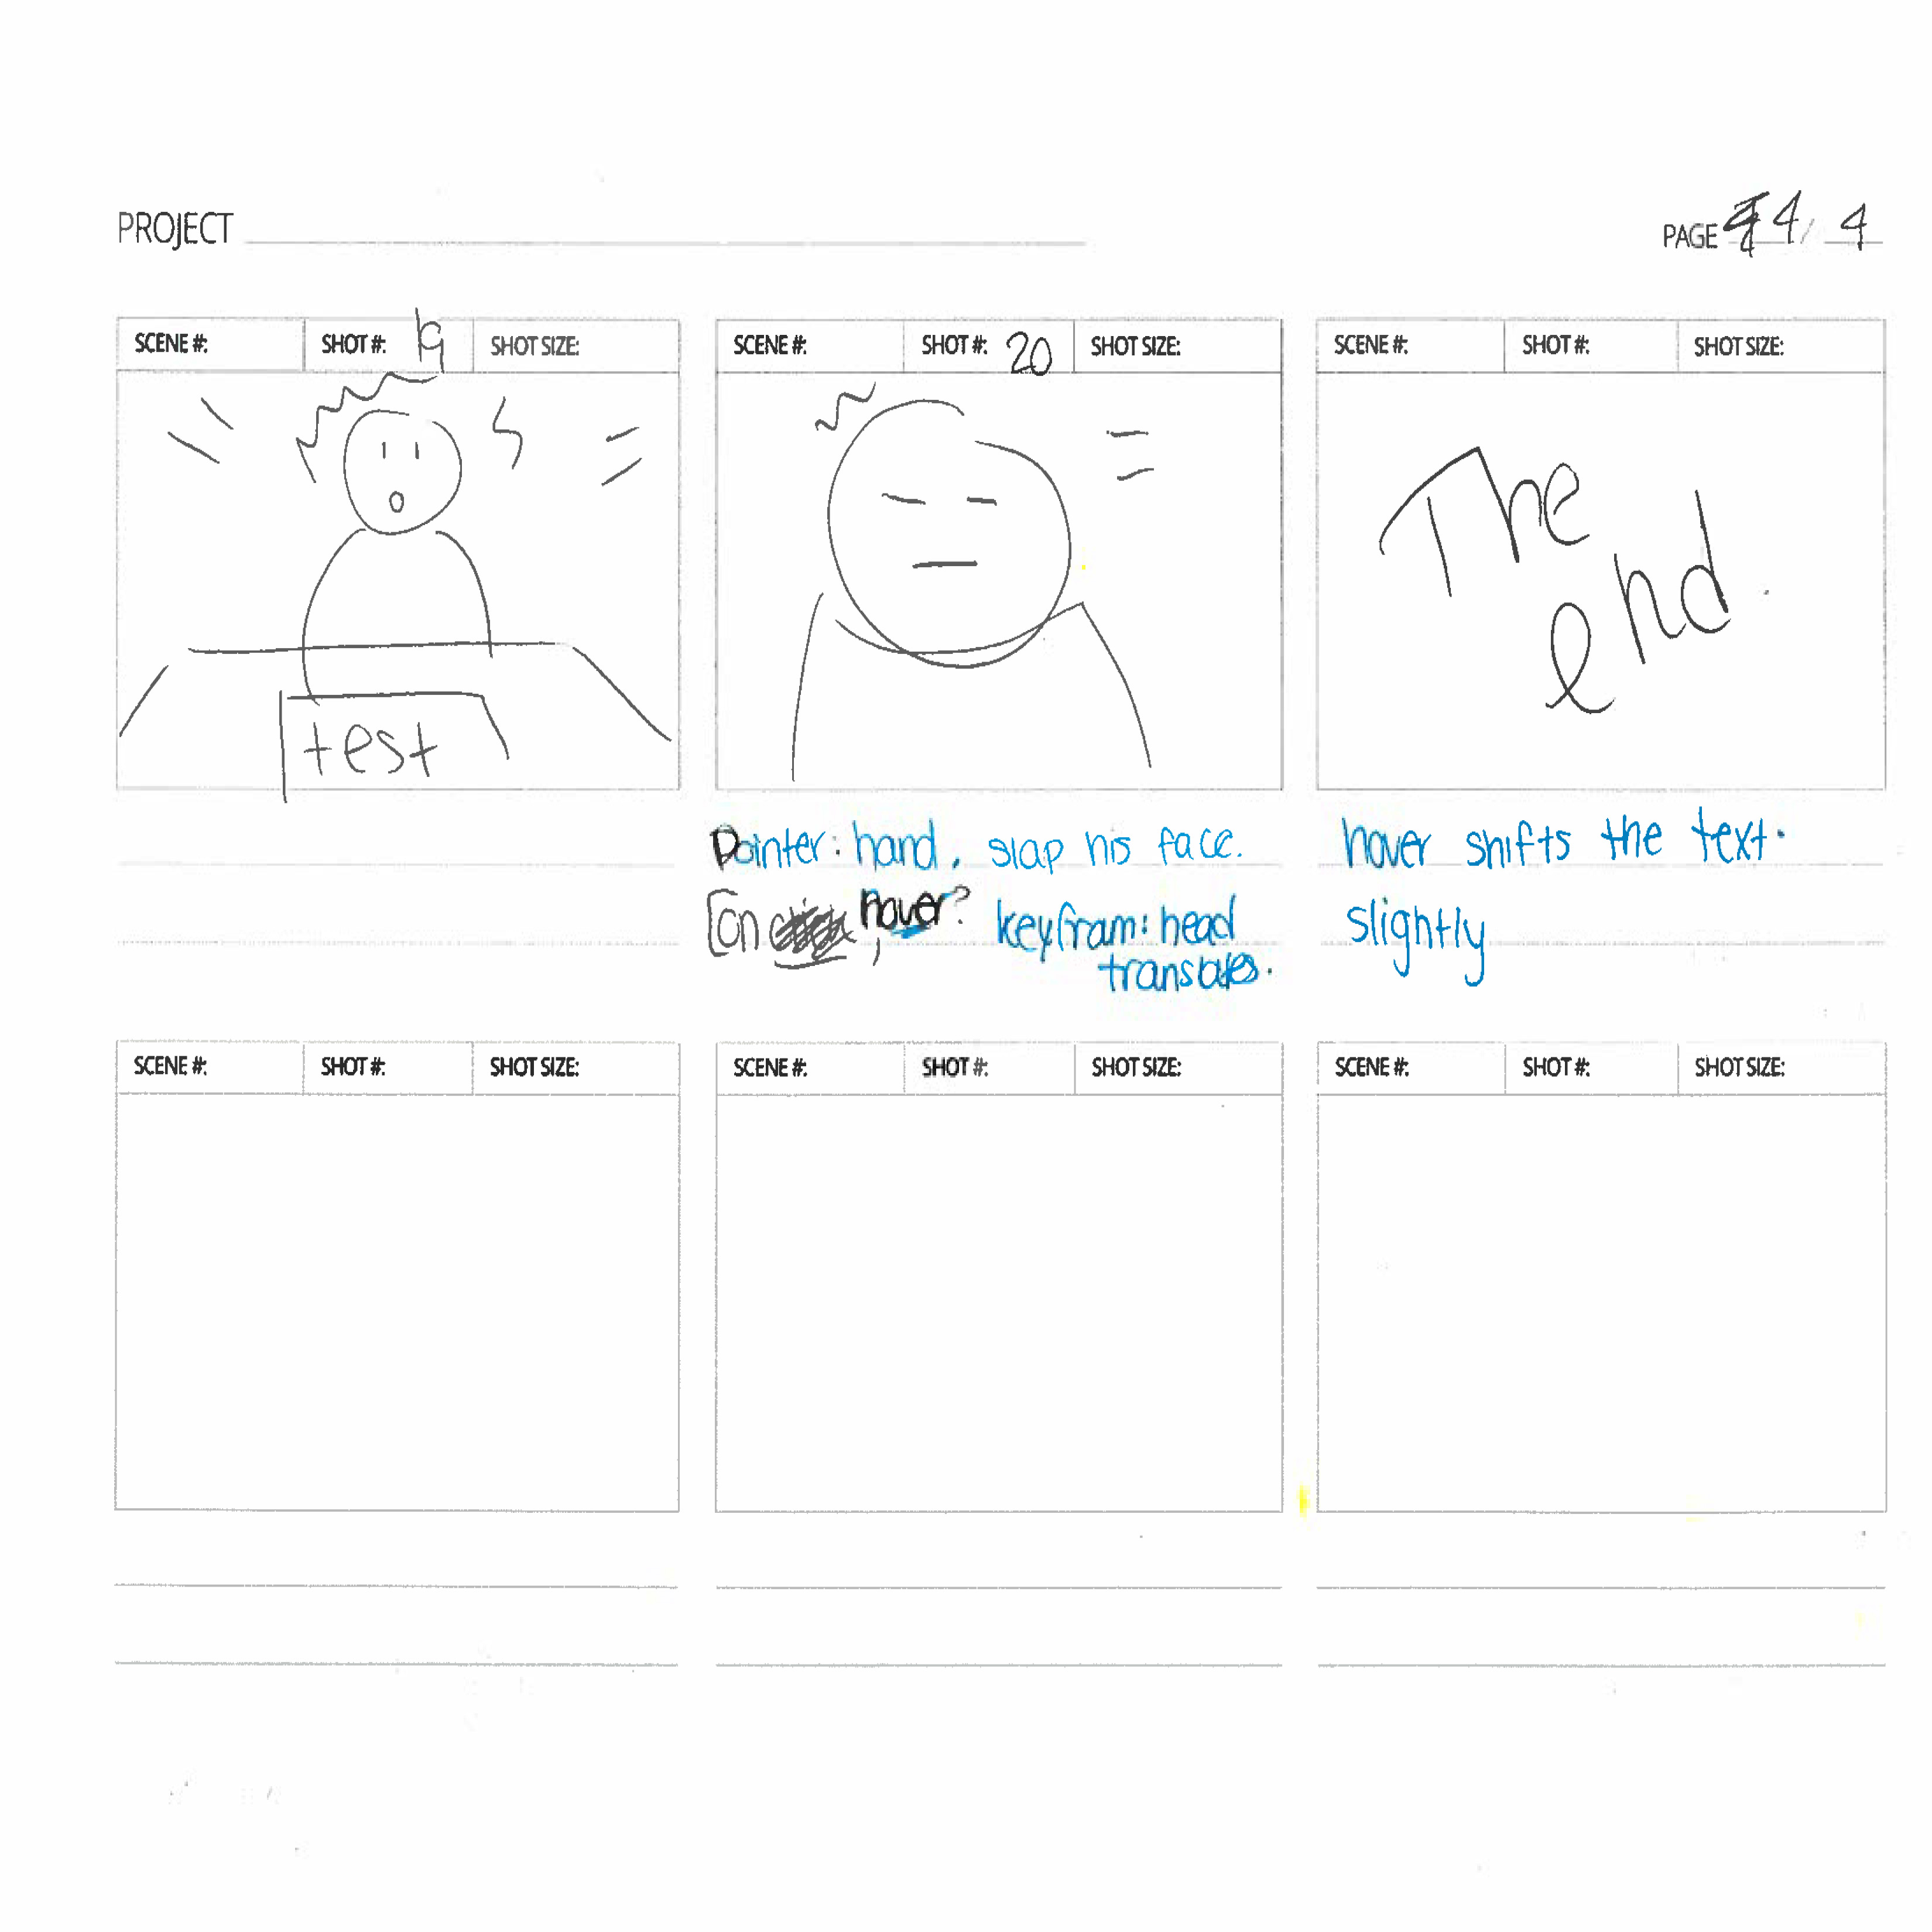
Here are some of my rough sketches. I originally had a different plan. I thought we would create svg animations with our storyboard, but due to limited time and other final projects, the final product does not contain all the animation detail as planned.
You can see that the plans for javascript plans were written in [black] pen with and the css in blue pen. All the HTML plans were highlighted in yellow.

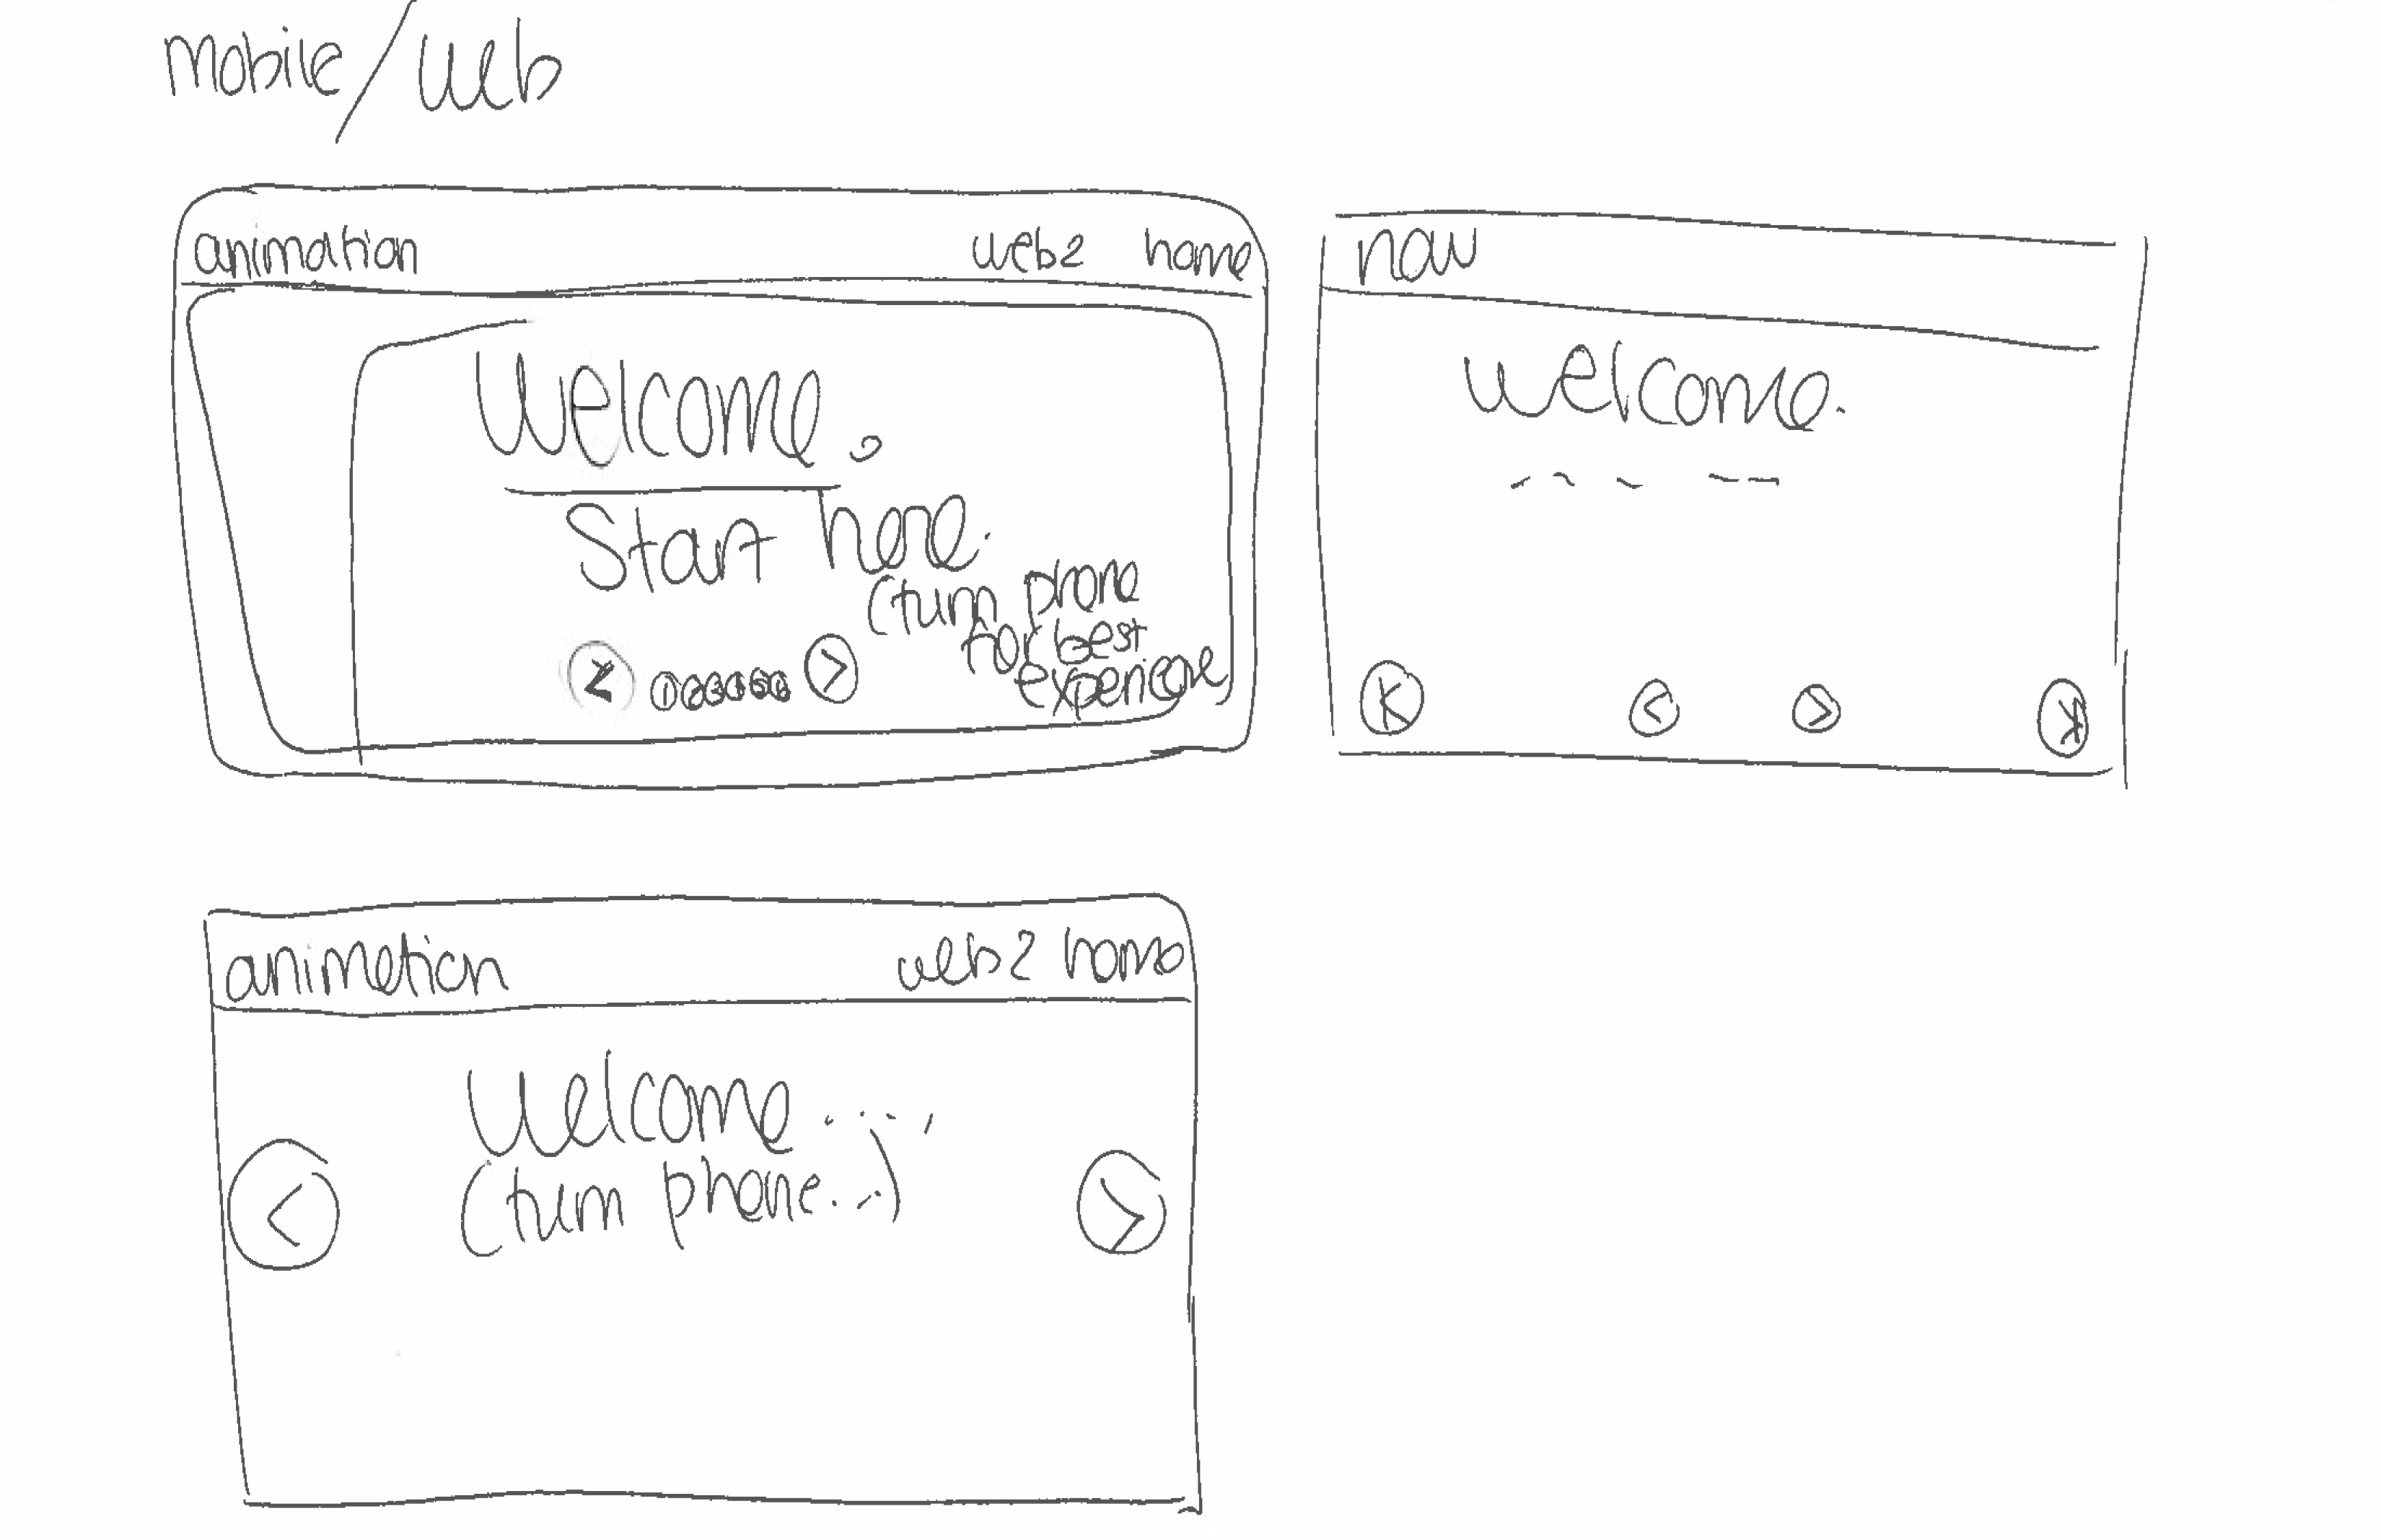
My HTML & CSS plans
I want to have m y storyboard include a title, indicator dots to show which slide you're on and next and previous buttons to switch through the slides.
I start off with a wrapper div with an id of #storyboard. I'm going to wrap all the other elements I want to include for my storyboard in here.
Next, I am using another div element with an id of #header for my header where I have the title and my name.
Next, I have a nav element with an id of #controller where I imclude a tags with one with a class of .prev and another with .next. They have arrow icons for the user to click on ❮ ❯
Finally, I include a set of indicators to show which slide is currently being displayed. These indicators are contained in a div element with a class of .slider-indicators. Each indicator is represented by a button element with a data-slide attribute indicating which slide it corresponds to.
The CSS for the slider is responsible for positioning the images and creating the sliding effect. I'll start by setting the slider element to have overflow: hidden, which hides any images that are outside of its bounds.
.slider {
                  overflow: hidden;
                }
Next, i'll use the display: flex and justify-content: space-between properties to position the images in a row and evenly space them
.slider > img {
                  flex: 1 0 100%;
                  margin-right: 20px;
                }
The flex: 1 0 100% property tells the images to grow to fill the available space, while the margin-right: 20px property adds a bit of spacing between them.
To create the sliding effect, I'll need to use the transform: translateX property to move the slider element horizontally. I also use the transition property to animate the movement.
.slider {
                  transition: transform 0.3s ease-in-out;
                }


                .slider > img {
                  transition: transform 0.3s ease-in-out;
                }


                .slider > img:last-of-type {
                  margin-right: 0;
                }


                .slider.active {
                  transform: translateX(-100%);
                }
I define a .slider.active selector, which is applied to the slider element when the user clicks on one of the arrow buttons. This moves the slider to the left by the width of one image, creating the sliding effect.
And finally just add a bit of styling :)
My JS Plan
I want to create a slider for images of my storyboard with a next and previous button with indicators on the bottom to show which slide we’re on. I need the JS code for interactivity to the slider so that when a user clicks on the next or prev button, the JS will update the position of the slider to show the next or the previous.
First, I need to select the HTML elements that I will be interacting with using JavaScript. I’ll use the `querySelector` method to select the elements by their class name:
const slider = document.querySelector('.slider');
const prevButton = document.querySelector('.prev-slide');
const nextButton = document.querySelector('.next-slide');
const indicatorParent = document.querySelector('.slider-indicators');
Next, I need to define a variable to keep track of which slide it’s currently on. This starts at 0, which represents the first slide:
let slideIndex = 0;
I also need to define a function called `moveToSlide` which will update the position of the slider to show the correct slide. This function takes place in a `slideIndex` parameter, which tells it which slide to move to:
function moveToSlide(slideIndex) {
  slider.style.transform = `translateX(-${slideIndex * 100}%)`;
}
I am using the `translateX` CSS property to move the slider horizontally. Here, I am translating it by a percentage of its width, which allows it to show one slide at a time, hopefully.
Next, I must define event listeners for the previous and next buttons. When the user clicks on one of these buttons, I want to increment or decrement the `slideIndex` variable, and then call the `moveToSlide` function to update the position of the slider:
prevButton.addEventListener('click', () => {
  if (slideIndex === 0) {
    slideIndex = slider.children.length - 1;
  } else {
    slideIndex--;
  }
  updateIndicator();
  moveToSlide(slideIndex);
});
nextButton.addEventListener('click', () => {
  if (slideIndex === slider.children.length - 1) {
    slideIndex = 0;
  } else {
    slideIndex++;
  }
  updateIndicator();
  moveToSlide(slideIndex);
});
I am using an `if` statement to check whether it’s reached the beginning or end of the slider. If it’s reached the end, then it’ll wrap around to the other end to create a continuous loop.
Finally, I need to define a function called `updateIndicator` which updates the active indicator to show which slide is currently being displayed:
function updateIndicator() {
  const indicators = indicatorParent.children;
  for (let i = 0; i < indicators.length; i++) {
    indicators[i].classList.remove('active');
  }
  indicators[slideIndex].classList.add('active');
}
This function selects all of the indicator elements, removes the `active` class from all of them, and then adds the `active` class to the indicator corresponding to the current slide.
Feedback from classmates
Classmates told me to change colors of site buttons to match the storyboard colors. I was also told to change the size of the text.